How to create your first consultation
In heyhey, a consultation is a product that your client books a time for. You can invite people to free calls or take payment for individual meetings.
On Starter you have room for one product. If you already have a course or an ebook, the consultation will be another product and needs a free slot in your plan. Compare plan limits.
1. Create the product
Open Products → All products, choose to add a product and pick the Consultations type. Enter a name, for example “Offer review consultation (60 minutes)”. In the description, explain who you help and what the client will walk away with.
Start with one type of consultation. You can set up different lengths or scopes later as separate products, within your plan’s limits.
2. Choose a free or paid consultation
Go to Sales → Calendar → Consultation settings and select your product.
- Free: the client picks a time without paying. You don’t need a payment provider for free bookings.
- Paid: set a one-off price for the product and connect a payment provider in Sales → Payments. Make sure selling is switched on for the product.
The product and its bookings share one price. If the consultation already has bookings, orders or meetings granted to clients, you may not be able to switch it between free and paid. In that case, create a separate product with the new terms and keep the existing bookings as they are.
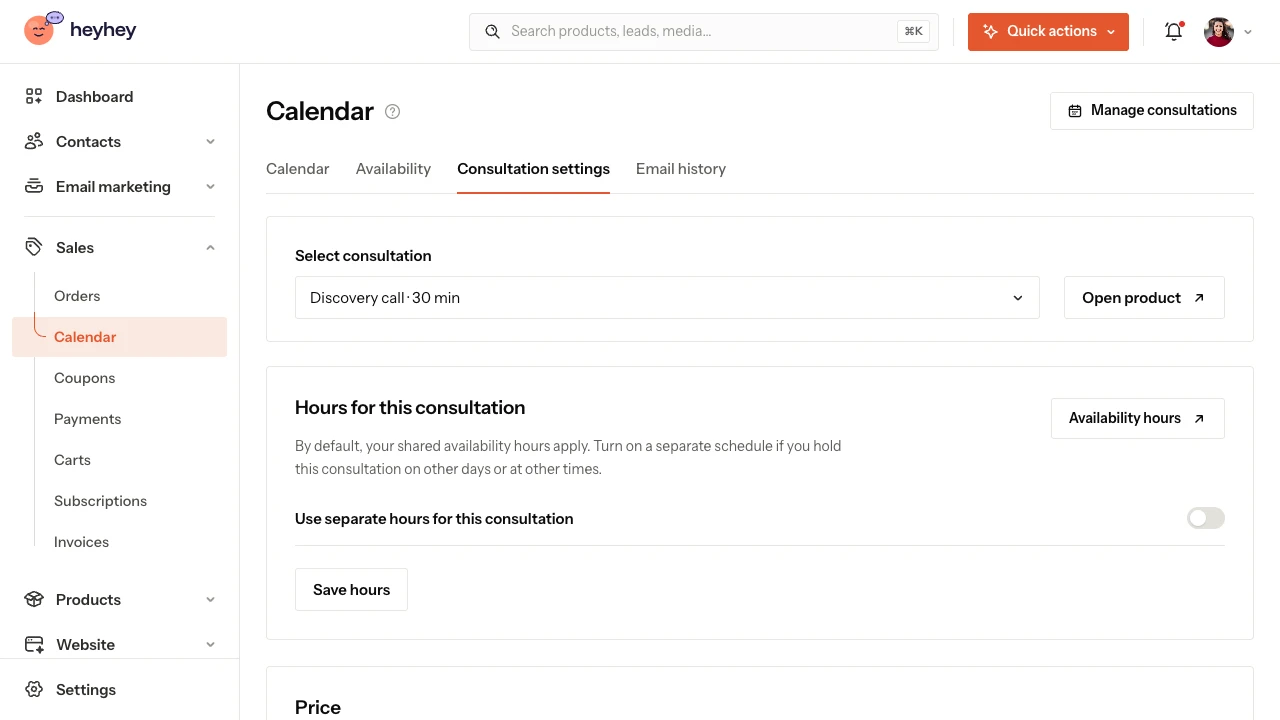
A demo account. The actions available depend on the history of the selected consultation.
3. Add the duration and location
In the Time and location section, set how long the meeting lasts. Then choose:
- Online meeting and paste a working call link.
- Phone and explain how you’ll connect, including who calls whom.
- In person and enter the full address and any directions the client needs.
heyhey doesn’t create a video room for you. You create the link in the tool you use for calls, such as Zoom or Google Meet. Before publishing, open it and check that it leads to the right meeting.
4. Set your hours and booking form
In Availability, choose your working days and hours. If this consultation needs different hours from your shared schedule, set them in Consultation settings.
In the Booking form, add only the questions you need before the call. Name and email are required. For example, you could ask: “What would you like to discuss in the consultation?” Then save your changes.
5. Publish and check the page
Publishing the consultation turns bookings on. The Enable bookings for this consultation switch lets you pause them later. Consultations set up earlier may need you to review existing bookings and client access; a new product doesn’t need this step.
In the Sharing section, copy the public link. Open it in a private window and check the name, the duration, the available times and the rescheduling rules. For a paid consultation, also check the price and the payment methods on offer. Seeing the page in a preview doesn’t prove that payment goes through.
Next: share your calendar with clients and set up reminders.